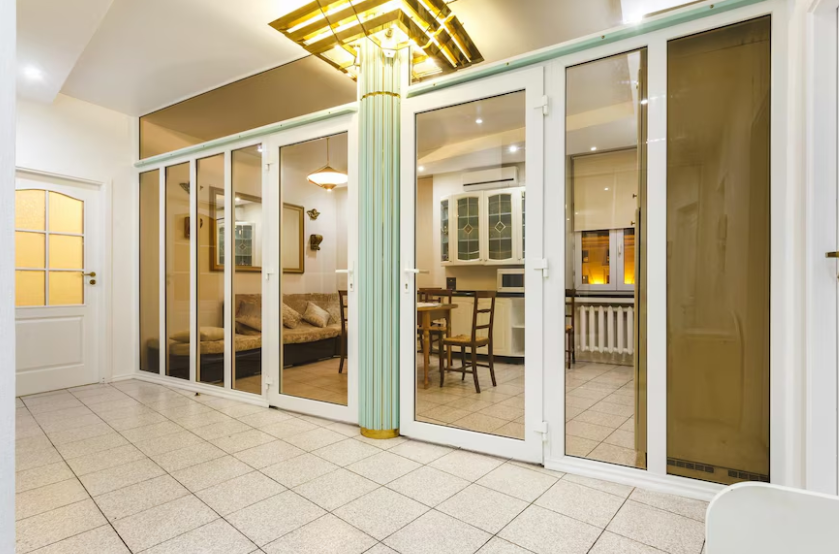
How to install sliding door at home

They save space, enhance natural light, and provide easy access to patios, balconies, or other areas. Whether you’re upgrading from a traditional door or adding a new one, installing a sliding door can seem like a complex task. However, with the right tools and guidance, it’s a project you can complete on your own. This comprehensive guide will walk you through each step of installing a sliding door at home.
Benefits of Installing a Sliding Door
- Natural Light and Views: Large glass panels maximize light and offer uninterrupted views of the outdoors.
- Energy Efficiency: Many modern sliding doors come with insulated glass, helping to maintain indoor temperatures.
- Easy Access: They provide smooth and effortless transitions between indoor and outdoor spaces.
Tools and Materials Needed
-
Tools:
- Measuring tape
- Level
- Power drill
- Screwdriver
- Hammer
- Pry bar
- Utility knife
- Saw (if frame adjustments are necessary)
- Caulk gun
-
Materials:
- Sliding door unit (pre-hung or separate panels)
- Screws and nails
- Shims
- Weatherstripping
- Exterior-grade caulk
- Insulation foam (optional)
Step 1: Measure the Opening
Accurate measurements are crucial for a proper fit.
- Width: Measure from one side of the opening to the other at the top, middle, and bottom. Record the smallest measurement.
- Height: Measure from the floor or threshold to the top of the opening on both sides.
Choose a sliding door that matches or is slightly smaller than these dimensions to allow for adjustments.
Step 2: Remove the Old Door
- Take Off the Door Panels: Lift the door panels out of their tracks.
- Remove the Frame: Use a pry bar to carefully detach the old frame from the wall. Be cautious to avoid damaging the surrounding area.
- Inspect the Opening: Check the rough opening for any damage, such as rot or warping. Repair as needed before proceeding.
Step 3: Prepare the Rough Opening
- Check for Level and Square: Use a level to ensure the floor, sides, and top of the opening are even. If adjustments are needed, use shims.
- Apply Sealant: Run a bead of caulk along the bottom of the opening to create a watertight barrier.
Step 4: Install the Sliding Door Frame
- Place the Frame in the Opening: Carefully lift and set the sliding door frame into the rough opening.
- Secure the Frame: Begin by screwing the frame into place, starting with the top corners.
- Check Alignment: This will prevent issues with the door sliding smoothly.
Step 5: Install the Door Panels
With the frame in place, you can now install the sliding door panels:
- Insert the Fixed Panel: If your sliding door has a fixed panel, install it first. Secure it according to the manufacturer’s instructions.
- Install the Sliding Panel: Lift the sliding panel into the track and ensure it moves smoothly. Adjust the rollers if necessary for a snug fit.
Step 6: Insulate and Seal
Proper insulation and sealing are crucial for energy efficiency and weatherproofing:
- Insulate Gaps: Use expanding foam insulation to fill gaps between the frame and the wall.
- Apply Caulk: Run a bead of exterior-grade caulk around the outside edges of the frame to prevent water and air infiltration.
Step 7: Install Trim and Finishing Touches
The final steps involve adding the finishing touches:
- Reattach or Install Trim: Nail the interior and exterior trim back into place to cover gaps and give a polished look.
- Weatherstripping: Install weatherstripping around the door to enhance insulation and prevent drafts.
- Final Adjustments: Double-check the door's operation and make any last-minute adjustments to ensure everything works perfectly.
Tips for a Successful Installation
- Follow Manufacturer’s Instructions: Each sliding door model may have unique installation requirements, so always refer to the provided manual.
- Work with a Partner: Sliding doors can be heavy and unwieldy.
- Take Your Time: Rushing can lead to misalignments or mistakes that may compromise the door’s function.
Most Popular
- Methylcobalamin B12 Injections: Boosting Energy and Health
- Born X Raised: Redefining Streetwear with Authentic Style
- Why Businesses Consider SMD LED Screen Display for Advertising?
- The Impact Of Social Media Marketing For E-Commerce Growth
- Simplify Your Payroll Process with osservi Payroll Services Ireland
- Securing Aquarium During Home Shifting with top Packers and Movers in Vadodara


0 Comments
No Comments Found
LEAVE A REPLY
Your email address will not be published